Shiny for Python: How to Work With MySQL and Postgres Databases

Most of the real-world data is stored in databases, so knowing how to access different database systems from Shiny is a mandatory skill. With the rise of Shiny for Python, databases and their access got a whole new meaning, as Shiny developers are no longer limited to R.
That being said, Shiny developers must learn how to connect to databases from Shiny for Python. That’s where this article comes in. We’ll show you how to connect to two databases – MySQL and Postgres – running live on AWS RDS. By the end of the article, you’ll have a fully-working Shiny for Python dashboard connected to these two.
Interested in connecting R Shiny to the Postgres database? We have you covered.
How to Provision Databases on AWS for Py Shiny
So, why AWS? Put simply, cloud databases are more popular and easier to set up, and AWS offers a generous free tier for MySQL and Postgres. If you decide to provision and run Oracle or SQL Server databases, you’ll have to pay up to hundreds of dollars per month, so ther// won’t be covered today.
Completely new to SQL and databases? Here are 5 key concepts you must know.
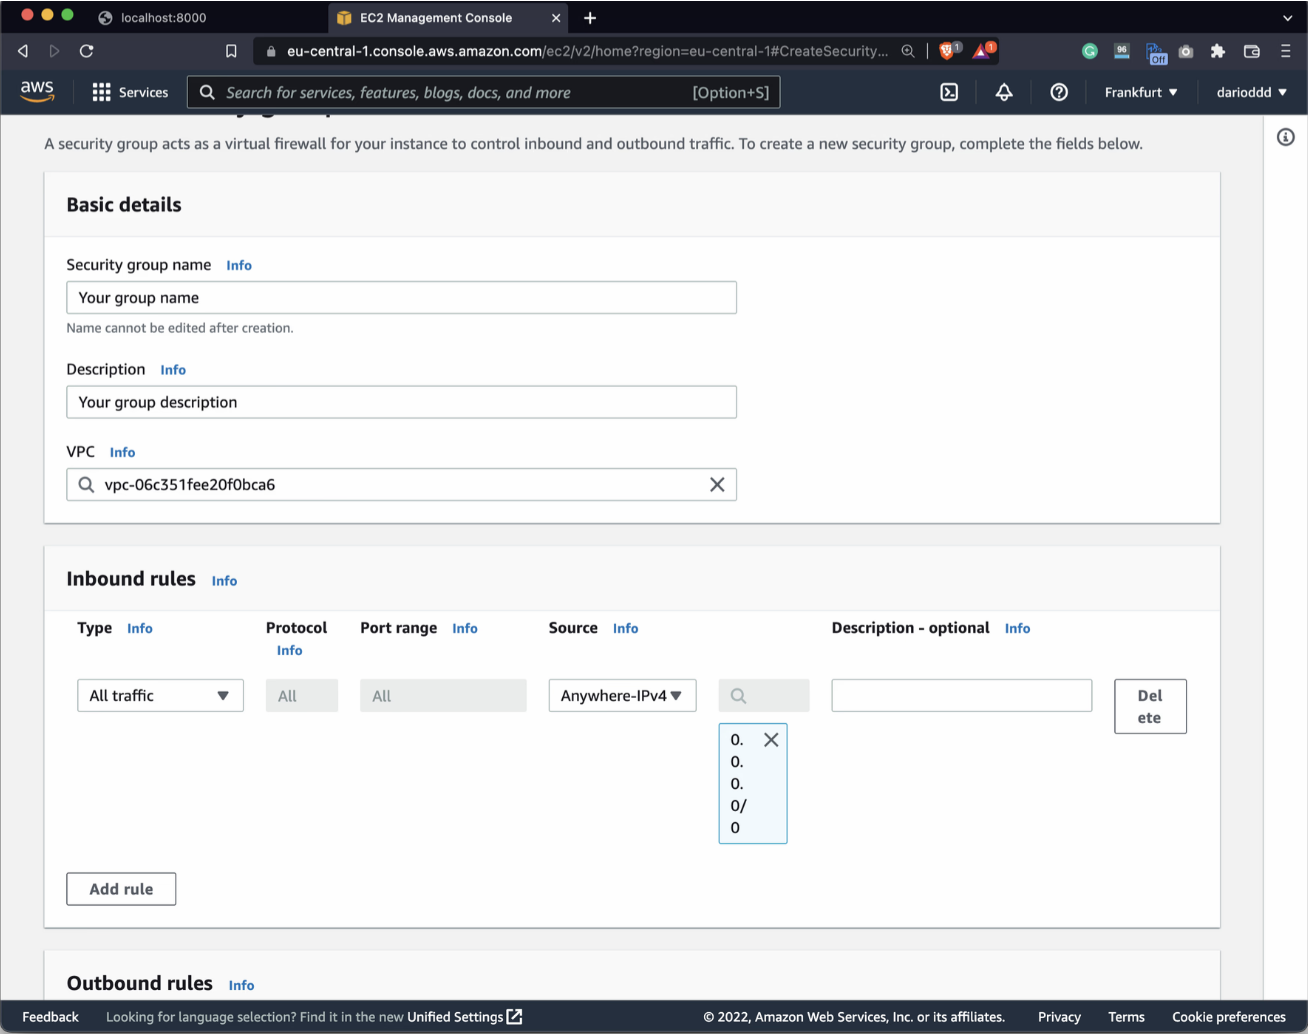
We assume you already have an AWS account configured. The first step is to configure a VPC security group. You need to allow traffic from external sources to your database. Go to EC2 Security Groups and create a new one. Pay attention to Inbounded rules. You want to allow all traffic anywhere, as shown below:
Once done, go to RDS Management Console – Databases – and click on the “Create database” button. You’ll have to create two always-free databases to follow along, one of them being MySQL and the other being Postgres. The configuration process is identical, just make sure to remember the assigned username and password.
Also, it’s mandatory to allow public access and choose a security group, as shown in the image below:
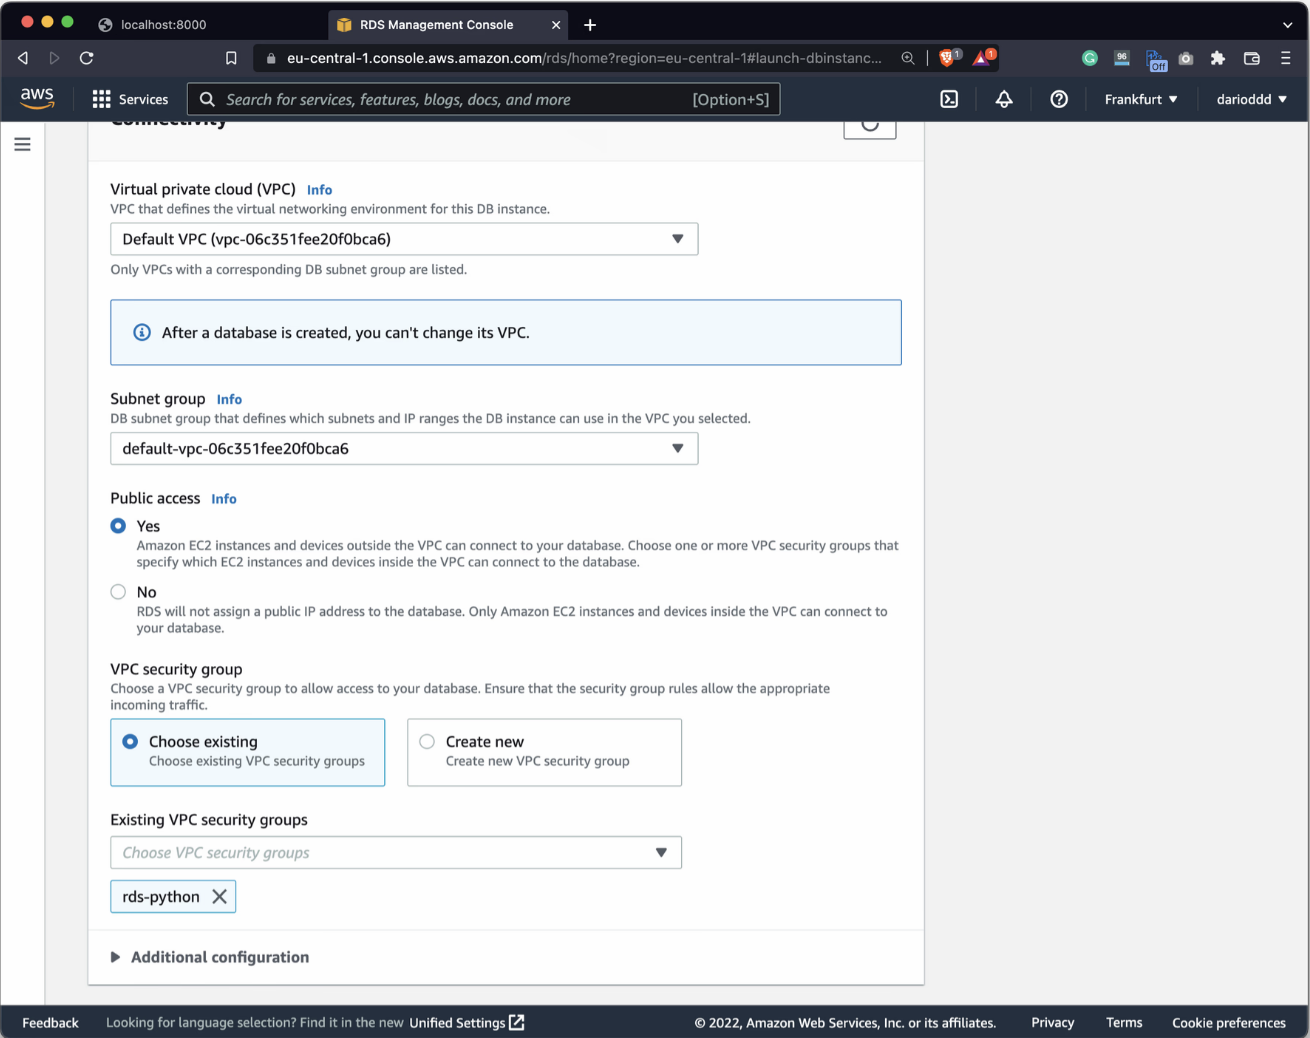
For reference sake, rds-python is our security group that allows all traffic anywhere.
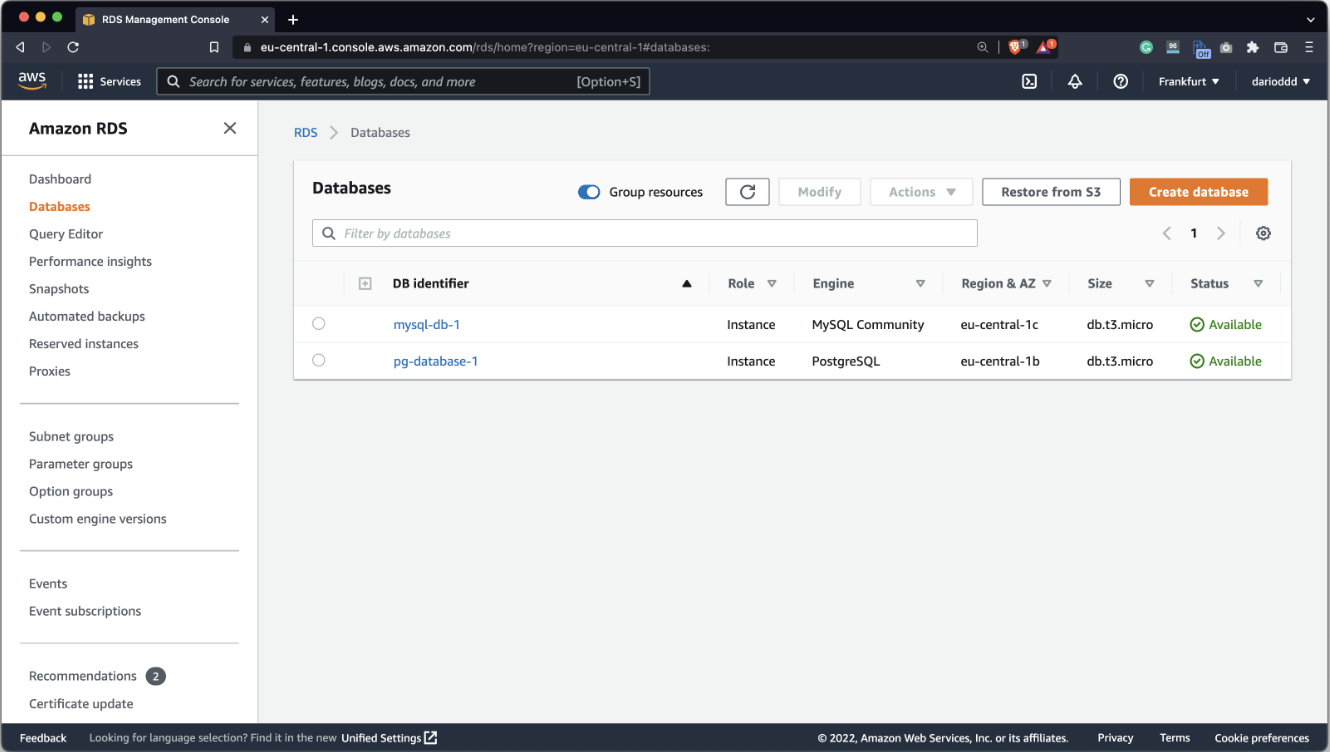
Once both databases are created and provisioned, you’ll see something similar in the database list:
Clicking on any database identifier will show you the connection endpoint and port:
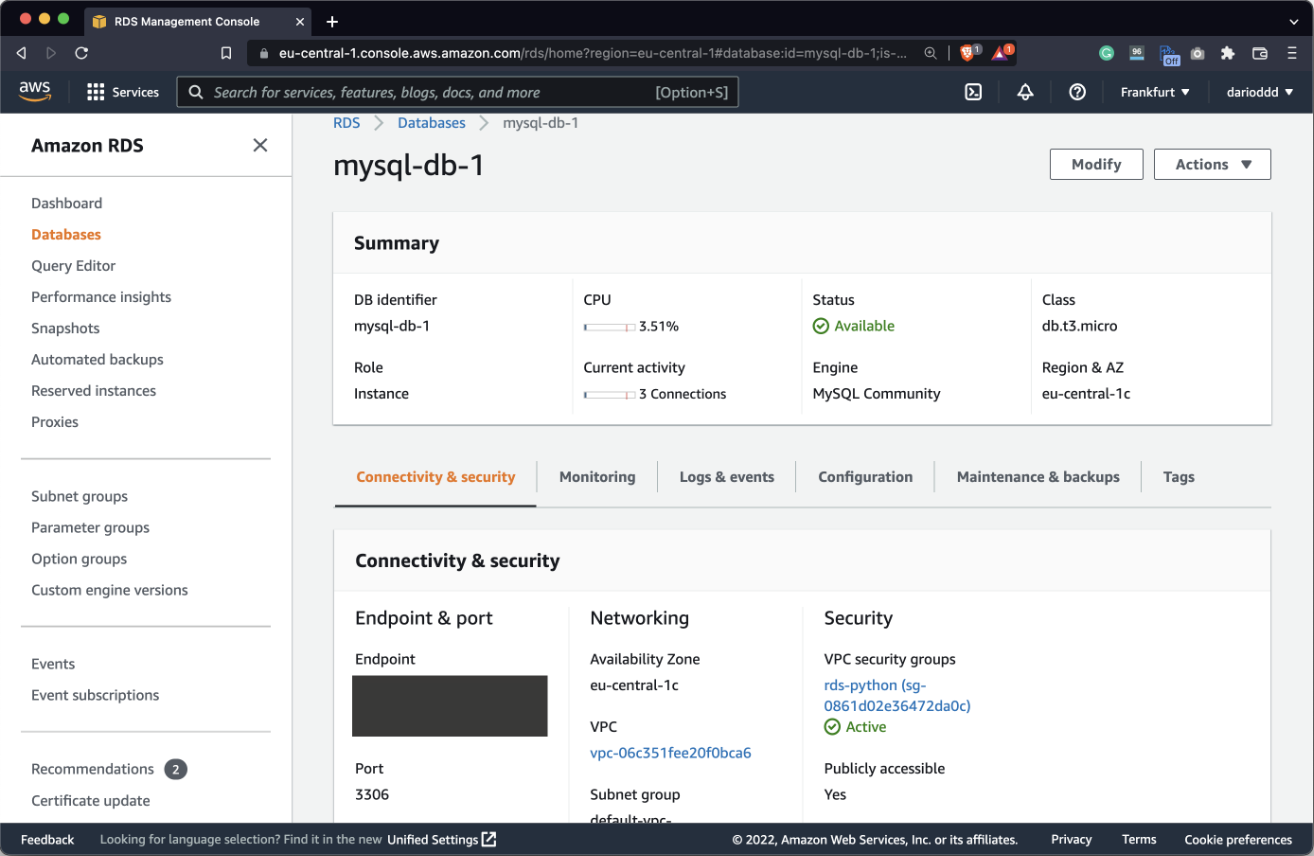
That’s all you need to establish a database connection from Python – you have the username and password already. Let’s see how in the following section.
Establish Database Connections from Python
Python requires you to install a couple of libraries before you can connect to databases. The first two are used for MySQL, and the last one is for Postgres:
pip install mysql mysql-connector psycopg2
To test the database connection, we decided to create a conns.py file. It will be used to test the connection with both.
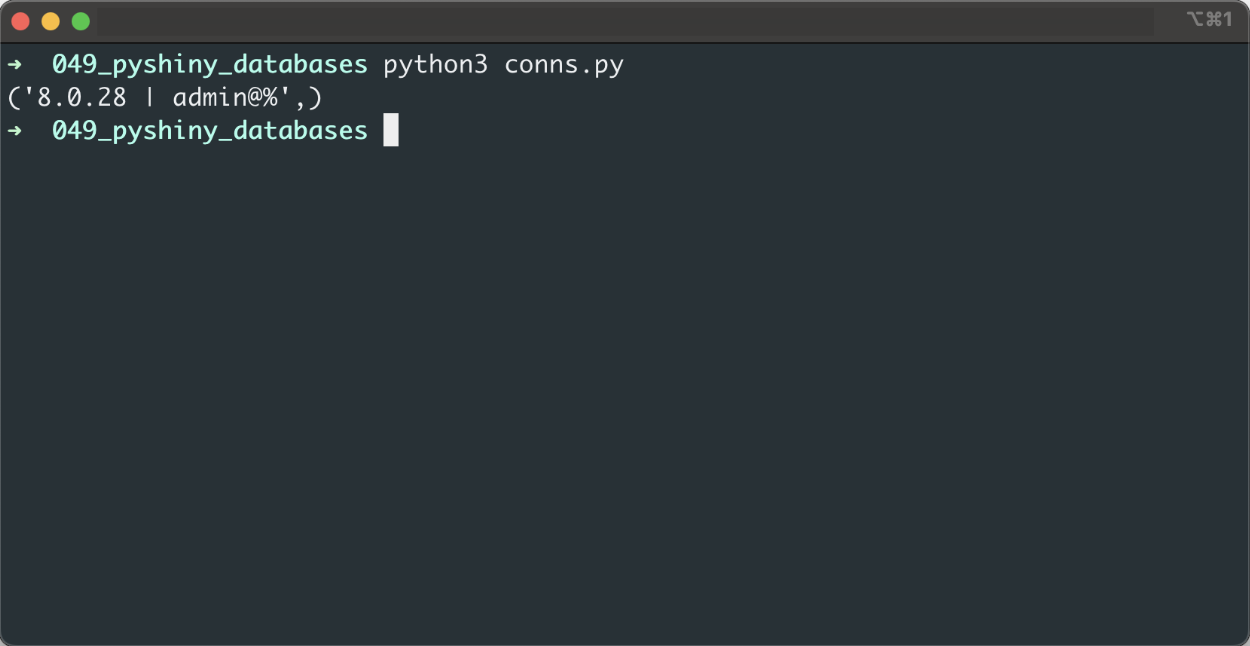
Let’s start with MySQL. Import the required library and use the connect() method to communicate with the database. Once the connection is established, we’ll execute a simple query that prints the database version and the current user:
import mysql.connector

conn = mysql.connector.connect(
    host="<your-host>",
    user="<your-user>",
    passwd="<your-password>"
)

res = ""
cursor = conn.cursor()
cursor.execute("SELECT CONCAT(VERSION(), ' | ', CURRENT_USER());")
res = cursor.fetchall()
print(res[0])

conn.close()
Here are the results:
Everything looks good, so let’s continue with Postgres. The connection script looks nearly identical, we’re just using a different library:
PostgreSQL:
import psycopg2

conn = psycopg2.connect(
    user="<your-user>",
    passwd="<your-password>"
    host="<your-host>",
    port="<your-port>",
    database="<your-database>"
)

cursor = conn.cursor()
cursor.execute("SELECT datname || ' | ' || datid FROM pg_stat_activity WHERE state = 'active';")
res = cursor.fetchall()
print(res[0])

conn.close()
Let’s see if the connection goes through:
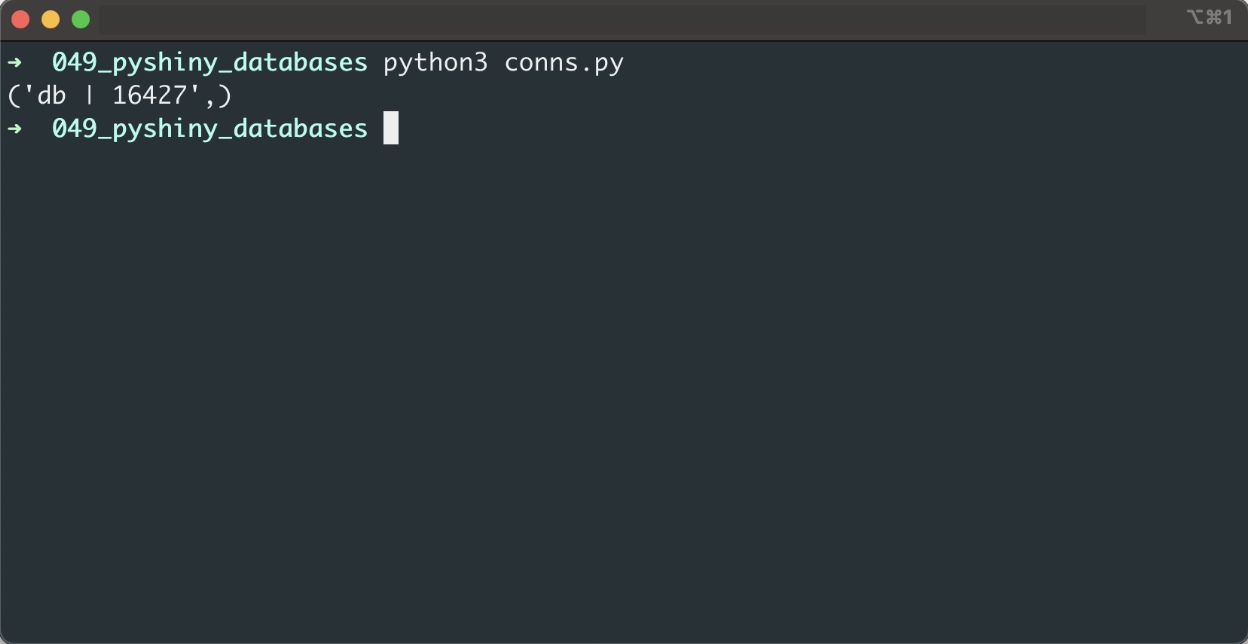
It does, so it’s safe to assume we have everything needed to carry on. Up next, you’ll learn how to work with Shiny for Python databases.
Shiny for Python – How to Connect to Databases
The dashboard you’re about to see will render the Iris dataset. The link contains the data in CSV format, so transfer it to both databases before proceeding. We’ve decided to name the target variable iris_species in MySQL and variety in Postgres, just so it’s easier to spot the difference. You don’t have to do the same.
Create an app.py file that will hold the entire Shiny application. Inside the file, we’ll import all the required libraries and declare a helper function for connecting to the database – connect_to_db(). This function will accept one parameter – provider that can be either MySQL or Postgres. Feel free to add additional options if you’ve created another database.
Don’t have Shiny for Python installed? Here’s how to get started.
The code for this function will look familiar, as we’ve already discussed the database connection logic:
import pandas as pd
import psycopg2
import mysql.connector
from shiny import App, render, ui, reactive


def connect_to_db(provider: str):
    if provider == "MySQL":
        conn = mysql.connector.connect(
            host="<your-host>",
            user="<your-user>",
            passwd="<your-password>"
        )
    elif provider == "PostgreSQL":
        conn = psycopg2.connect(
            user="<your-user>",
            passwd="<your-password>"
            host="<your-host>",
            port="<your-port>",
            database="<your-database>"
        )
    else:
        raise Exception("Invalid DB Provider!")
    return conn
Now onto the Shiny for Python app. The UI will be simple:
Inputs: Only one input, allows the user to select a database to connect.
Outputs: One text output containing database details, and one table output rendering the Iris table.
The Server is where things get tricky. We’ll have two reactive calculations, one containing the database info and the other containing the Iris dataset.
The db_info() reactive function should also feel familiar, as you’ve seen its logic in the previous section. The data() function establishes a database connection and runs a SQL statement. The result of the statement is returned in a Pandas DataFrame format.
As for the rendering, things are simple – we have all the data prepared, so the only thing left to do is to call the corresponding reactive functions.
Here’s the remainder of the app.py script:
app_ui = ui.page_fluid(
    ui.h2("Shiny for Python Database Connections"),
    ui.input_select(id="select_db", label="Selected Database:", choices=["MySQL", "PostgreSQL"], selected="MySQL"),
    ui.hr(),
    ui.output_text(id="out_db_details"),
    ui.output_table(id="out_table")
)


def server(input, output, session):
    @reactive.Calc
    def db_info():
        if input.select_db() == "MySQL":
            conn = connect_to_db(provider="MySQL")
            stmt = "SELECT CONCAT(VERSION(), ' | ', CURRENT_USER());"
        else:
            conn = connect_to_db(provider="PostgreSQL")
            stmt = "SELECT datname || ' | ' || datid FROM pg_stat_activity WHERE state = 'active';"
        cursor = conn.cursor()
        cursor.execute(stmt)
        res = cursor.fetchall()
        conn.close()
        return str(res[0])

    @reactive.Calc
    def data():
        conn = connect_to_db(provider=input.select_db())
        if input.select_db() == "MySQL":
            stmt = "SELECT * FROM db.iris"
        else:
            stmt = "SELECT * FROM iris"
        df = pd.read_sql(stmt, con=conn)
        return df


    @output
    @render.text
    def out_db_details():
        return f"Current database: {db_info()}"

    @output
    @render.table
    def out_table():
        return data()


app = App(app_ui, server)
The only thing left to do is to run the Shiny for Python app. Open its parent folder in the Terminal and run the following:
shiny run --reload app.py
It will launch the Shiny app on port 8000. Here’s what it looks like on our end:
You can select either database from the dropdown menu and the outputs will update accordingly.
Summary of Shiny for Python Databases
You have to admit – connecting Python to databases is simple and straightforward. Also, provisioning these databases is almost effortless on AWS, assuming you know you have to create a security group.
The procedure for connecting other database vendors to Shiny for Python would be near identical. Oracle uses Python’s cx-Oracle package, and Microsoft uses pyodbc. We decided to leave them out because you can’t run them for free. No one needs an extra cost, and these databases are extremely easy to forget about.
Did you have any difficulties connecting Python Shiny apps to remote databases? Please let us know in the comment section below. Also, don’t hesitate to continue the discussion on Twitter – @appsilon. We’d love to hear your input.
Shiny adoption is a growing in large companies. You can make a career out of it – Here’s how.
